Items required for installation
In this case we are going to install the wordpress system on an android.
As in any wordpress installation we will need a server to be able to mount the system and a database with which to access and store the data of our system, for this we are going to use the termux application.
- An android phone (any version)
- Database, in this case MariaDB
Step-by-step installation
The first thing we have to do is download the termux application to our cell phone, you can get it from this link:
When starting the application for the first time it will take a little while but do not worry, it is normal. Once started, something like this will appear:
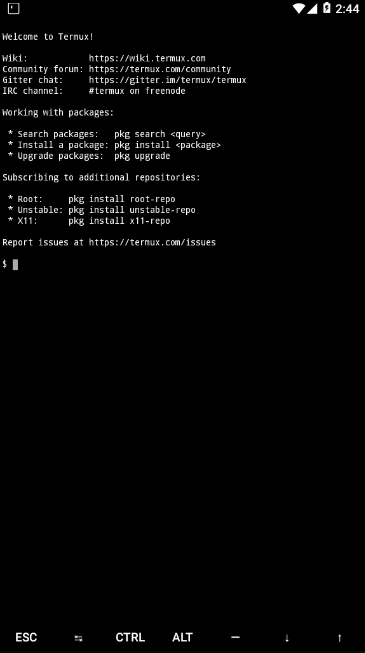
Which is simply the terminal that has started and welcomes us.
Now we are going to update our terminal and we are going to install the tools that we will need to be able to install wordpress
The first thing we have to do is execute the following commands that will help us to update our terminal:
pkg update && pkg upgrade
once our terminal is updated we are going to install the necessary tools:
apt install mariadb php vim wget -y
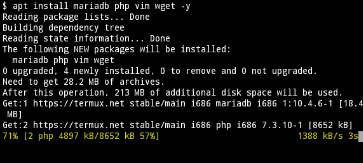
now we are going to see in parts what we are doing:
with apt install we are telling our terminal that we want to install some tools which are being specified, we have mariadb which is the database that we are going to use, we have php that we will use to create the server, vim as a text editor and for last wget to download files from internet.
once the tools are installed we are going to download wordpress
We use the following command to download the latest version of wordpress:
wget https://wordpress.org/latest.tar.gz

One very important thing we have to do is create our “wordpress” database, to create it we are going to use the following:
we are going to execute the following command to start the mariadb service:
mysqld
once executed, something like this will appear:
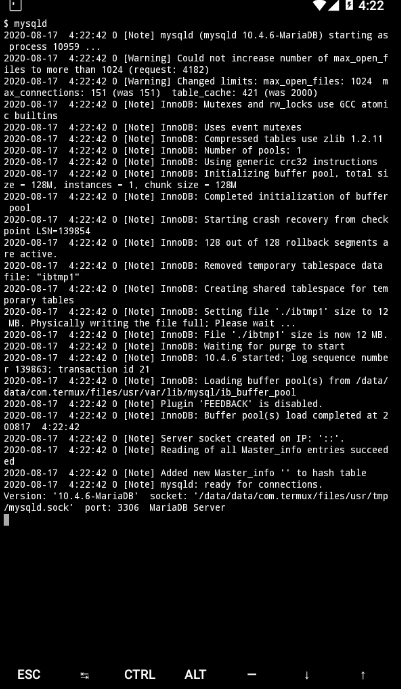
which means that the mariadb service is already running. What follows is to create a new session in our termux, which is done by dragging the screen to the right, and a menu will appear which allows us to create more sessions:
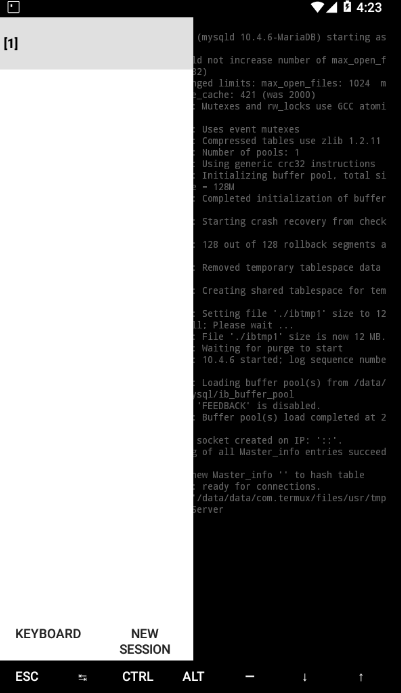
In the new session we execute the command: mysqlto enter the mariadb environment and continue with the procedure.
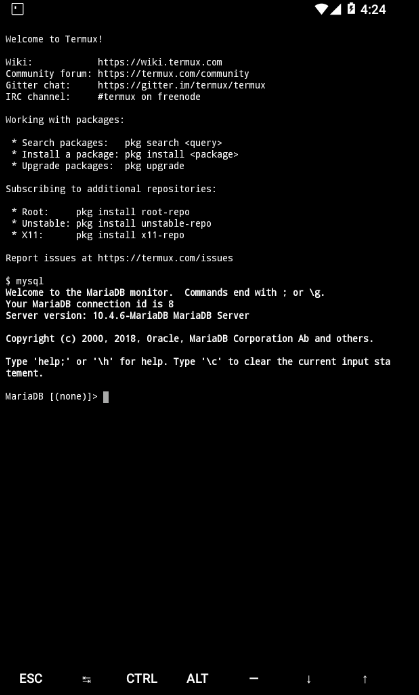
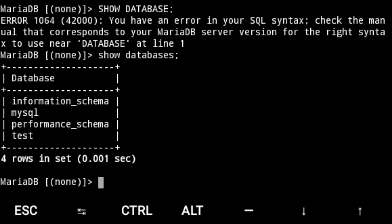
We can see the databases that come by default with the command:
show databases;
Now we use the following commands to create our database and grant it permissions to work.
REMEMBER TO CHANGE THE USER AND PASSWORD
MariaDB> CREATE DATABASE wordpress;
MariaDB> GRANT ALL PRIVILEGES ON wordpress.* TO "wp-user"@"localhost" IDENTIFIED BY "contraseña";
MariaDB> FLUSH PRIVILEGES;
MariaDB> EXIT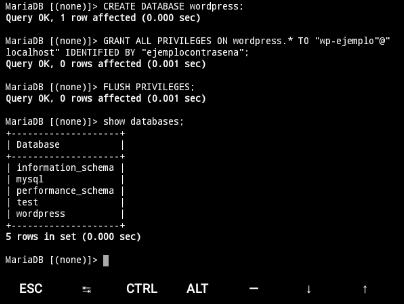
ready, our database is configured.
we have everything ready
now we just have to create the server to host our wordpress and continue with the configurations. to mount the server in this example we will use phpp.
PHP allows us to use our terminal as a simple server:
php -S 0.0.0.0:8081
we will stay inside the wordpress folder and execute the above command to host our wordpress on localhost using port 8081
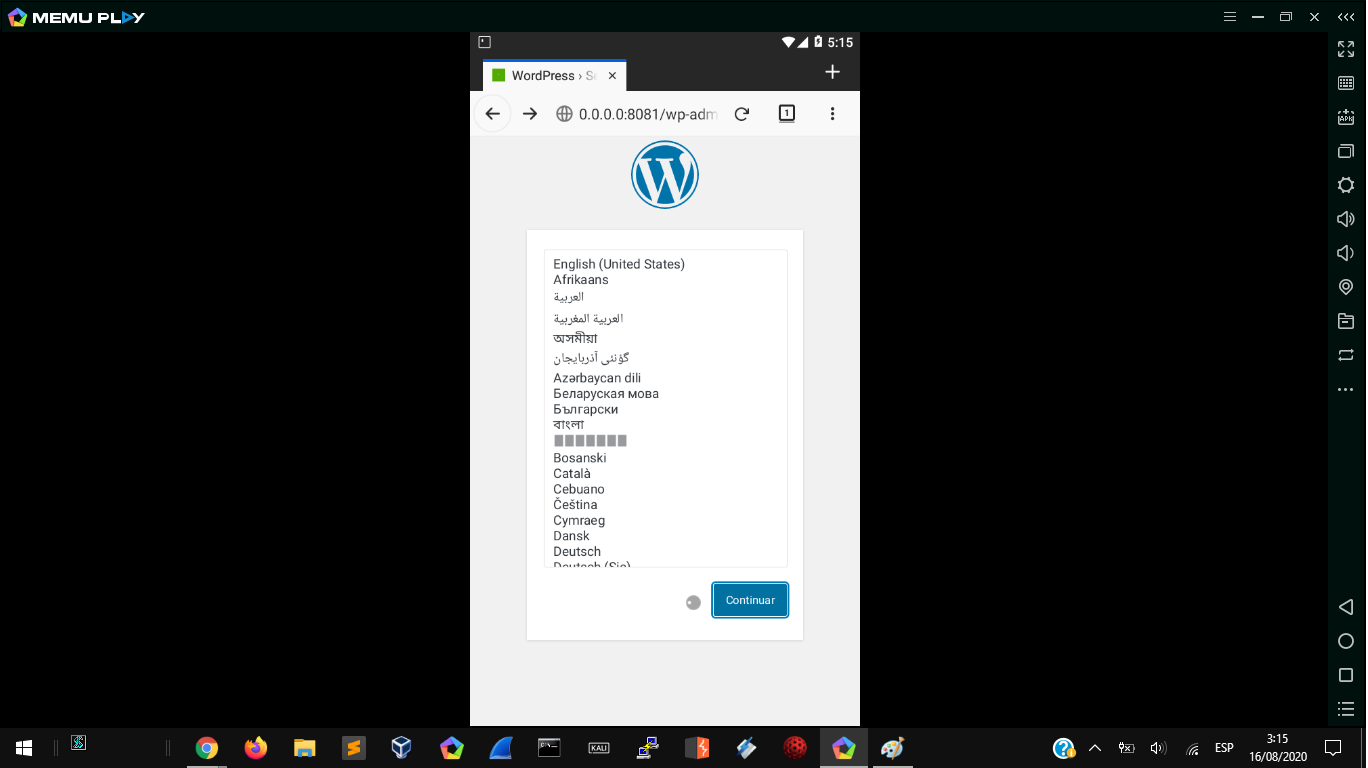
As you can see, we already have our wordpress in our localhost, to continue with the configurations we select our language:
now we only need to fill in the information with which we chose previously when filling our database:
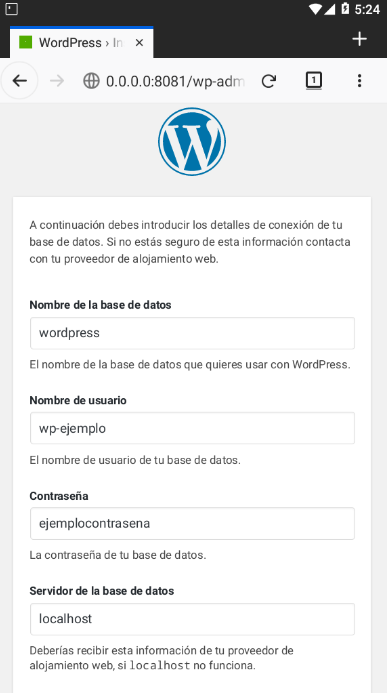
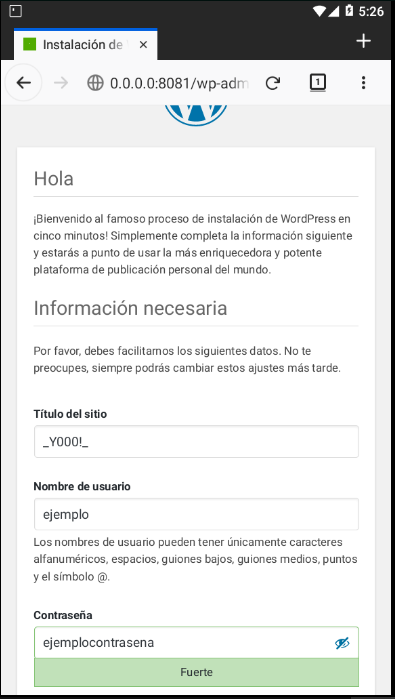
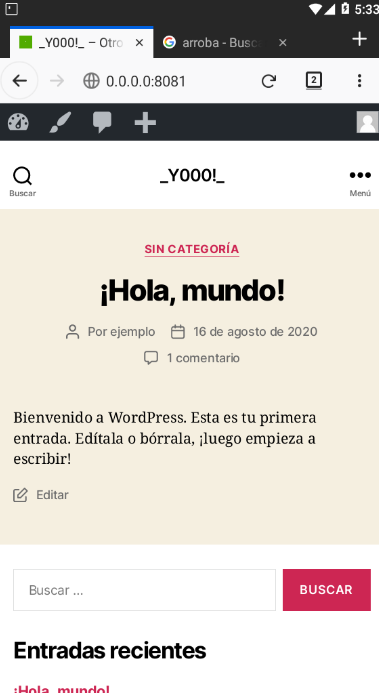
We follow the steps, and then we log in with our data and that’s it! we already have WORDPRESS on our android
Sign up for NFT Weekly Digest
By Nerd For Tech
Subscribe to our weekly News Letter to receive top stories from the Industry Professionals around the world Take a look.
By signing up, you will create a Medium account if you don’t already have one. Review our Privacy Policy for more information about our privacy practices.
WRITTEN BY
Hola, Bienvenido a mi perfil de Medium! Soy Y000! 😊 ¿Quién soy? 🤔 Bueno… soy yo jaja soy solo un apasionado por la seguridad informatica.








Tidak ada komentar:
Posting Komentar